America’s trusted resource for residential building, remodeling, and home improvement. Convenient digital delivery includes unique bonus features and enhancements: linkable and searchable content, techniques videos, slide shows, tutorials, new products, digital tools, and more.
Out Of Print • BUILDING BEYOND THE MAGAZINE’S PAGES
Fine Homebuilding Magazine
Contributors • THE VOICES OF EXPERIENCE
Letters • READER FEEDBACK
Tips&Techniques
The story of habitable attics • MASTER THE RULES OF HOME BUILDING
SPEEDY PEX EXPANDER • NEW AND NOTEWORTHY PRODUCTS
Well-balanced power
One-hitch hauling
Blade of light
New boot on the block
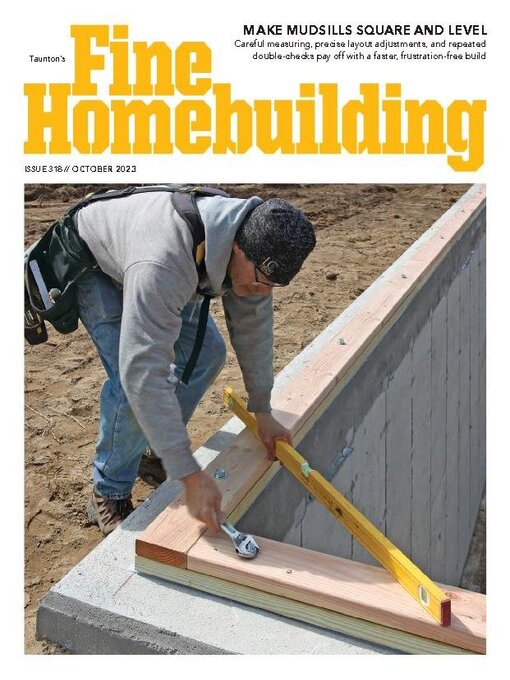
Make Mudsills Square and Level • Careful measuring, precise layout adjustments, and repeated double-checks pay off with a faster, frustration-free build
CHECK THE FOUNDATION • This house has a “T”-shaped gable roof with a pair of valleys. For the rafters to work out, the house has to be framed perfectly square. If the foundation contractor did a good job, all the final dimensions should be within ½ in. of those specified in the plan. If not, you or someone else will need to make corrections for a smooth build (see “Problem-foundation fixes” on the facing page).
LOCATE THE MUDSILLS • For this project, I chose the longest wall and its opposite as the starting point. When I’m locating mudsills, I don’t accept anything less than perfect for the layout, because errors will accumulate as the house goes to the second and third levels. If the diagonal measurements are off at all, I adjust the layout by moving the plate location slightly and then rechecking the diagonals. I do this as many times as necessary to ensure the corner of the building is square.
SNAP LAYOUT LINES • With the corner points located, we snap preliminary layout lines using nonpermanent blue chalk so that we can erase lines if tweaks need to be made. When we’ve snapped all four walls, I check that the opposing diagonals are the same, indicating that the equal-length walls are square to each other. Then, I turn my attention to laying out the sills for shorter walls for any jogs, wings, or bays. This project had jogs for two porches. If you find that small rectangular sections cannot be made square to the main rectangle, you can slightly rotate the main rectangle on the foundation to make the smaller sections fit better.
SET THE SILL PLATES
TWO REMEDIES FOR HIGH SPOTS IN THE FOUNDATION • Almost no foundation is perfectly flat. There are always places where the concrete settles a little or the forms shift, or the finishers miss their height marks by just a little. How I level the mudsills depends on how bad the imperfections are. If there are just a couple of high spots, I plane the plate or grind the raised spots. If there are low spots, I fill them in with nonshrink grout, which slows the work while we wait for it to set. Don’t level the mudsills with cedar shims, which compress, causing future problems, especially where there are point loads.
THE TOP PLATE • The pressure treated mudsill bottom plate is usually wider than the other plate stock, and most sills are laid out from the inside dimensions. Allow for the PT’s extra thickness, or you’ll end up with a flare at the bottom of your wall sheathing.
Turn Up the Heat With Induction Cooktops • Learn what induction is, what you need to know about making the switch from gas or electric, and top products to consider
HOW INDUCTION WORKS
SIX COOKTOPS TO CONSIDER • We’ve looked at other article reviews as well as ratings on retailer and manufacturer websites to curate this list of induction cooktops. The most popular sizes are 36 in., 30 in., and 24 in., so we’ve opted for higher- and lower-priced models within those dimension...
 February/March 2025
 #328 - December 2024/January 2025
 #327 - November 2024
 #326 - October 2024
 #325 - August-September 2024
 #324 - July 2024
 #323 - June 2024
 #322 - April-May 2024
 #321 - February-March 2024
 #320 - December 2023-January 2024
 #319 - November 2023
 #318 - October 2023
 #317 - August-September 2023
 #316 - July 2023
 #315 - June 2023
 #314 - April-May 2023
 #313 - February-March 2023
 #312 - December 2022-January 2023
 #311 - November 2022
 #310 - October 2022
 #309 - August-September 2022
 #308 - July 2022
 #307 - June 2022
 #306 - April-May 2022
